Clear DNS Cache from DCHP on Unifi Security Gateway
I’ve got a Ubiquiti Unifi home network setup … yes, I’m a complete nerd. I love it. It’s been rock steady for years and it’s super-fast. The one issue I’ve had, though, is that various network tools will label devices on my network with the wrong device name via reverse-DNS lookups.
For example, for the last 18 months my MacBook Pro has shown up as “Jenna’s iPhone” in Pi-hole – and even MacOS has reverted the “sharing name” of the computer to that from time to time. If you’re wondering, Jenna was one of my daughter’s friends who visited years ago for a sleepover and hopped on our wifi network. You can turn off the register DNS name on DHCP lease feature if you want to, but frankly it’s helpful to be able to reverse-lookup things once in a while. If anything, the bug here is that there’s no age-out function for the cache … which is the hosts file on the USG.
Long story short, just like Pepperidge Farm remembers, so does my Unifi Security Gateway (DHCP and DNS server).

Today I got fed up and decided to do something about it. I’m documenting this here so Future Nathan (and present you) can figure this out too. Big shout out to Howard Durdle’s little post to his future self here: Clearing Ubiquiti UniFi USG DNS entries.
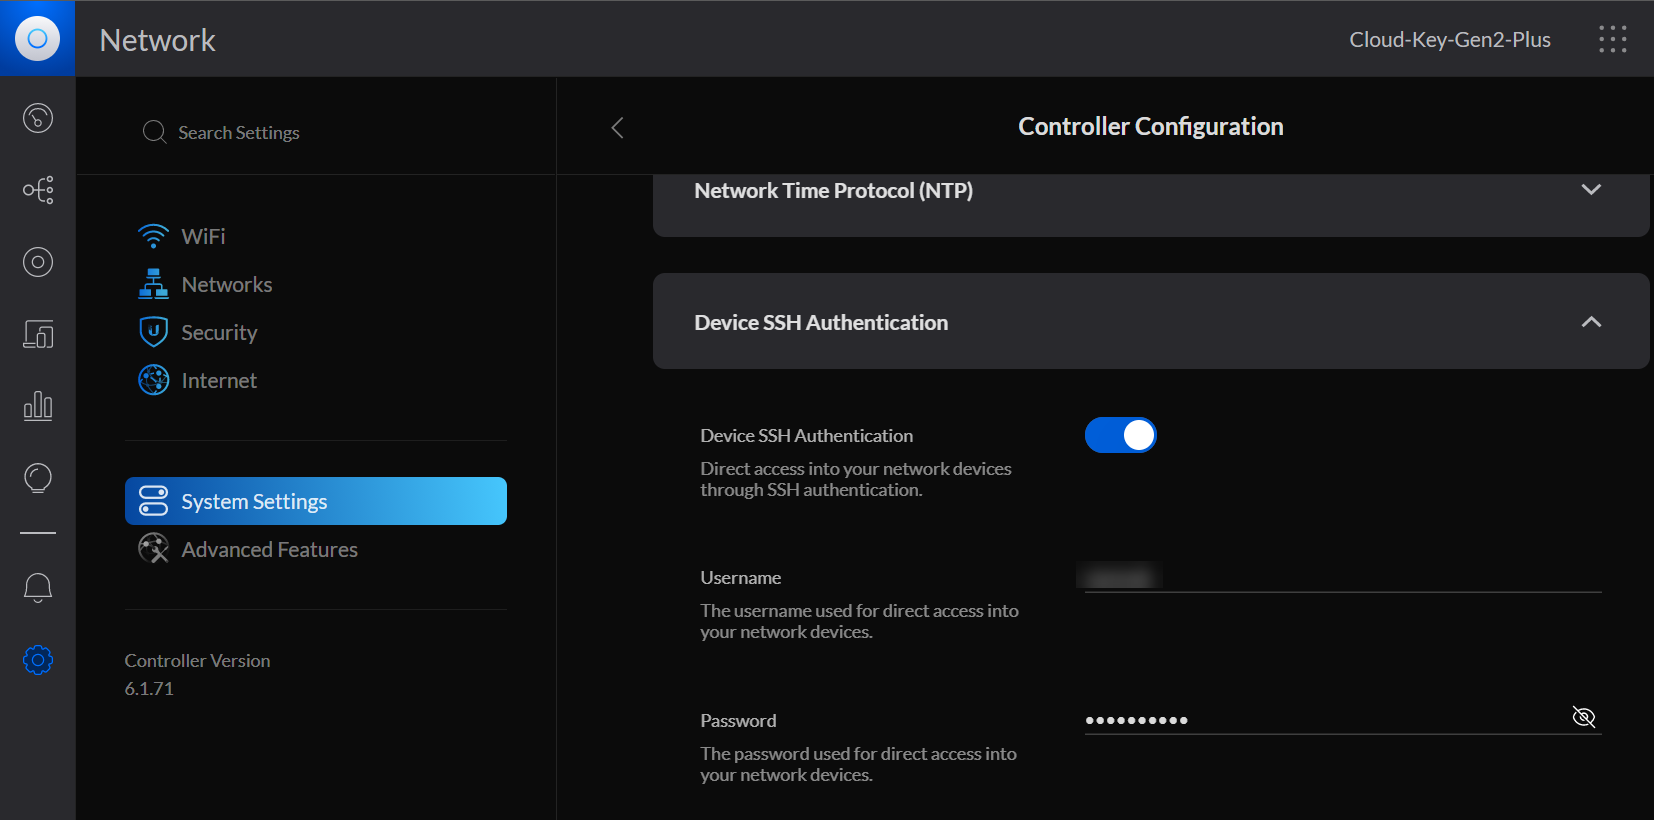
Step 1: Make sure you can SSH into your USG. In the controller portal (or whatever you want to call it) go to Settings > System Settings > Device SSH Authentication. Make sure you’ve got Device SSH Authentication turned on and a username and password configured.
Step 2: Login to your USG over SSH. Pretty easy from a Win10 PowerShell window. Just provide the IP of your USG (which should be your default gateway) and use the -l command to specify the username. Enter the password when prompted. You may need to accept the SSH key if this is your first time logging into the USG. Just say yes.
ssh 192.168.x.y -l <username>Step 3 (optional): Verify the USG’s hosts file is the problem. Look at that – crap that’s been there for years!
cat /etc/hostsStep 4: Spring cleaning. This uses an elevated VI instance to do the damage. Standard caveats apply, don’t be stupid. Just like editing the Windows registry in regedit, if you don’t know what you’re doing and aren’t comfortable having to nuke things and start over, don’t proceed. “There be dragons here”.
Once you’re in VI use the arrow keys to navigate to the line you want to delete and type dd (reference). I’m not sure if the lines for the Unifi gear itself will be regenerated, so to be safe leave the lines for your USG’s IP address and any other critical infrastructure.
To safe the file and exit VI, type :wq and you’ll find yourself back to the USG’s prompt (reference).
Step 5: Restart DNS on the USG. This will load the updated hosts file.
sudo /etc/init.d/dnsmasq force-reloadYou’ll see something like…
@MainRouter:~$ sudo /etc/init.d/dnsmasq force-reload
[ ok ] Restarting DNS forwarder and DHCP server: dnsmasq.
And that’s about it. You shouldn’t have Jenna’s iPhone on your network anymore. 🙂

